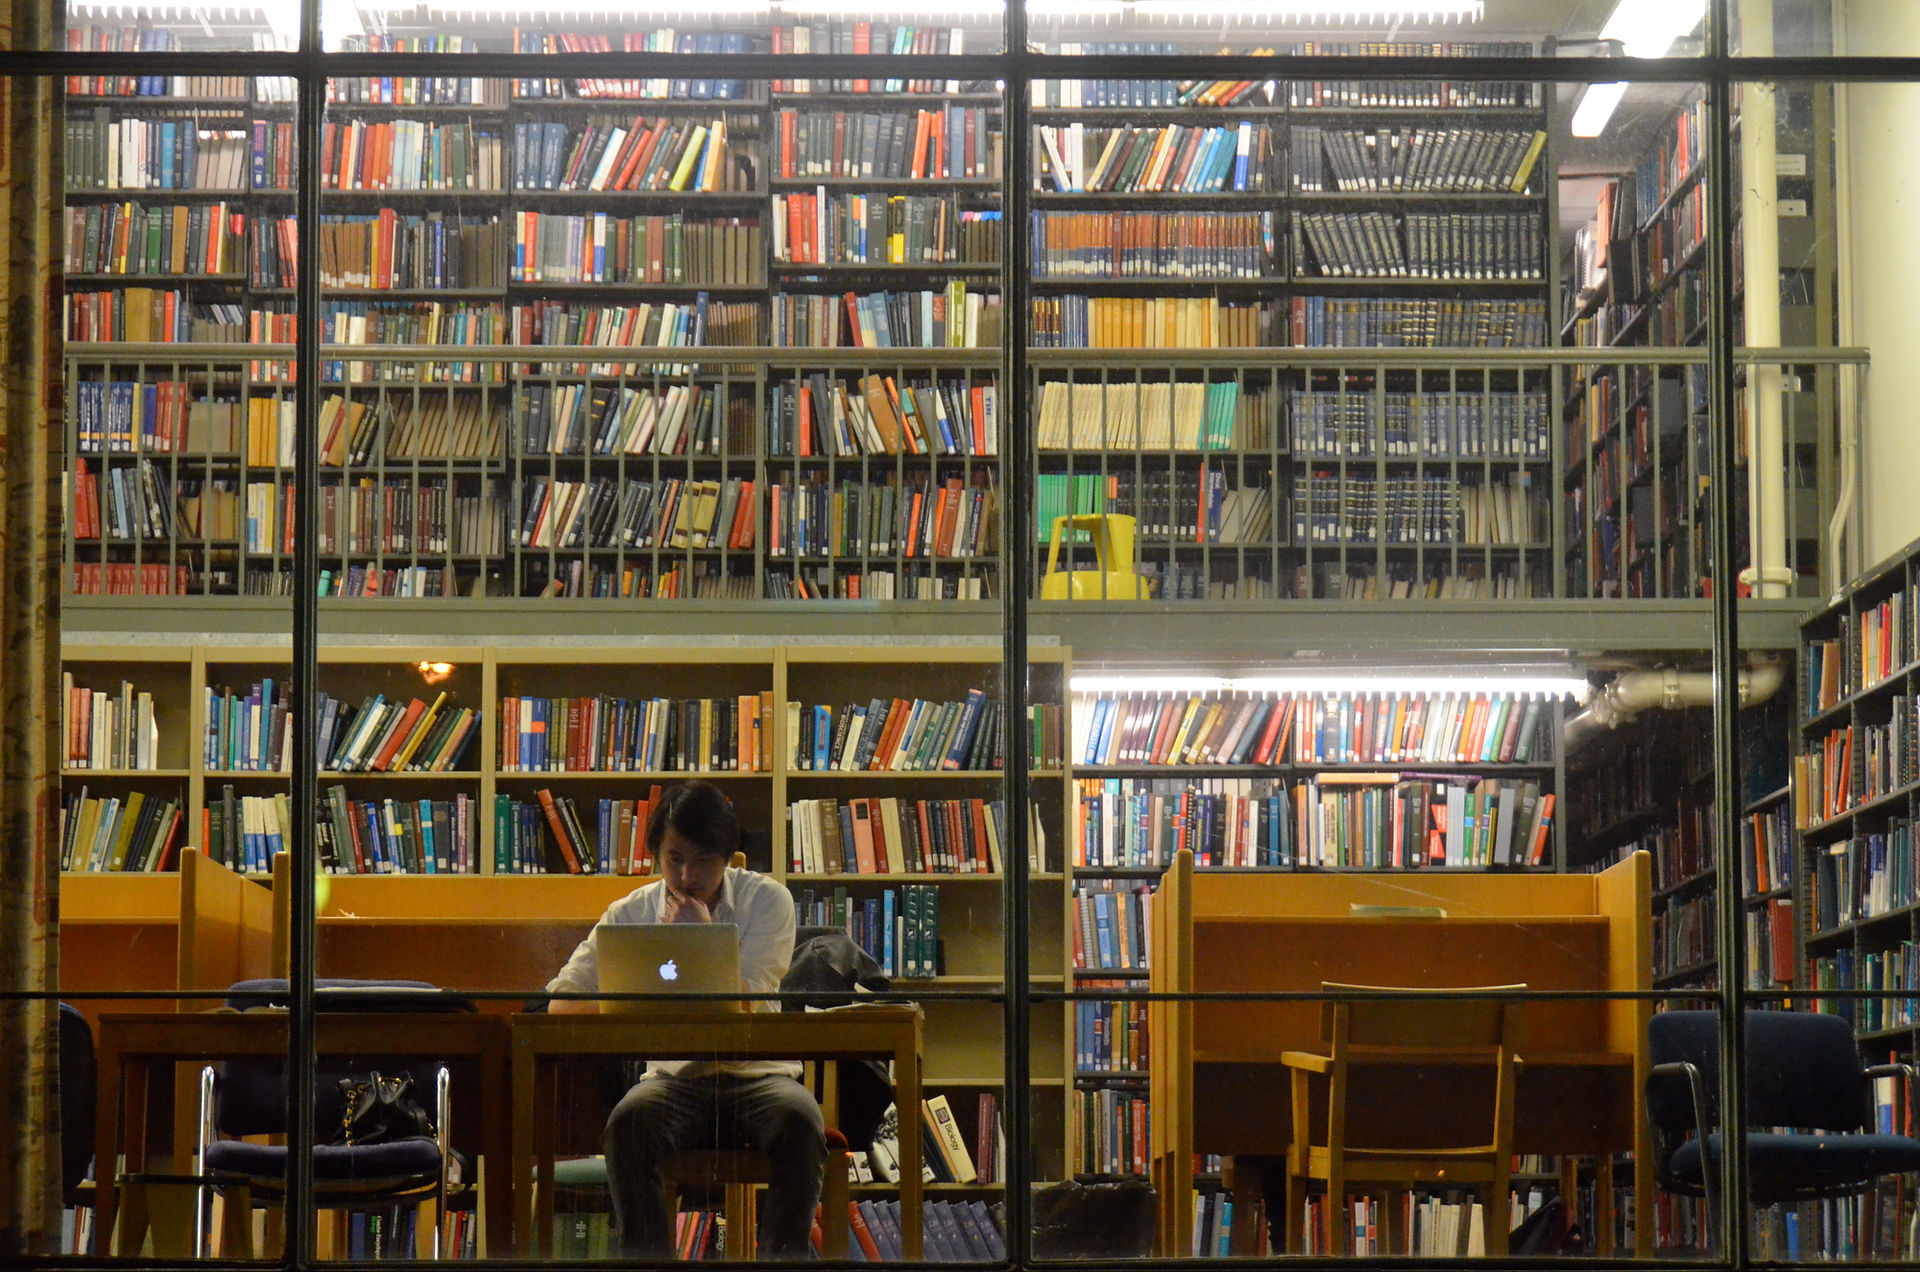
Creating a Preset with Lightroom
Isabelle M. Harbert
In this lesson we will learn how to create presets using Adobe Lightroom photo editor. During this session we will learn how to create the preset edits and analyze its application in social media branding. Although this tutorial will focus on the basic edits of Lightroom, and define all language that comes with it, it is not a tutorial for beginners to Lightroom. If you are a beginner to Lightroom follow this link, and refer to the reference list for tutorials for beginners.
Contents
-
Introduction
-
What is a Preset?
-
Basic Lightroom Edits Terms
-
Creating and Installing a Basic Preset
-
Creating
-
Saving
-
Installing
-
-
Presets in Action
-
Branding on Social Media
-
-
Conclusion
Introduction
Branding is a huge part of marketing, sales and public relations, and it can come in so many different mediums. Presetting image edits is a new form of branding, and this is due to the rise of social media being the forefront of marketing. The goal for this lesson is to teach people how to create and apply Lightroom Presets for branding on social media. If you are looking to create a cohesive and refined look that emulates the tone and personality go your social media space, than this is the place for you.
I strongly recommend that you read through the whole lesson before attempting to create your Preset. I have also included links to more detailed documentation and tutorials. From my experience, Youtube videos have been the most effective in terms of the educative content.
What is A Preset?
Definition: Through Lightroom there are an infinite amount of adjustments you can make to your photo. These main variables can be exposure, contrast, color, brightness, shadows and vignettes. It's then possible to save these settings as a preset for later use. These saved settings are known as Presets.
Functions: Presets are generally used for albums and branding. When the same theme, mood and look is meant to be consistently displayed throughout the collection this is where preset edits come in handy. Presets are helpful because they are predetermined adjustments that you can apply to your photos with just one click. People use presets for their Instagram to help them maintain a theme, and this is part of branding.
Presets in Action:
Presets are primarily used for visual branding on Instagram and websites. They bring a cohesive visual aesthetic and a predictable them to the photo albums. I used two Instagrams that illustrate the power of a preset, and how it can make your photos look like they all fit together.
She Just Knows: Tracy Sheer is a fashion blogger who has over 50.1K followers on Instagram. Her Preset looks like it uses high exposure, plays with the whites of her photos and uses a blue, green and grey color palette. Her modern, elegant and simple style is reflected in the presets which helps to reiterate her branding.

The Skinny Confidential: Lauryn Evarts Bosstick is a beauty and wellness blogger who's branding is all about the ultra feminine. Her presets have bright whites and use a lot of pink highlights and dark contrasts. She has a very successful branding style because no matter where you are on your Instagram food you can always spot one of her photos.


Life With Fraser: Fraser Toing is a photographer and youtube who works to educate amateur photographers on everything photography. I used him because he not only had the highest ratings on Lightroom Editing Tutorials but his instagram proved to be a very good example for the power of presets in branding execution. You can see how he has applied presets to his entire media space where both his youtube and his instagram have the same theme. This cross functional branding is because of the presets. It's easy to go from one of his social media spaces to another because the story, the aesthetic, is all the same.
Basic Lightroom Editing Terms
-
Exposure: Refers to the amount of light per unit area. So the more light per unit the higher the exposure.
-
Contrast: Refers to the scale of difference between the white and blacks in your photo.
-
Highlights: These are the brighter spots in the photograph, and can be applied to any color.
-
Shadows: Refers to a dark area where light from a light source is blocked by an opaque object.
-
Whites: This refers to the white pixels in your photograph, and it can either dull (grey) or brighten (super white) the photos.
-
Blacks: This refers to the black pixels in your photograph, and it can either dull (grey) or saturate (darken) them.
-
Clarity: This refers to the pixel clarity, and it works with the texture of your photograph. High clarity is generally super texturized, while low clarity will be fuzzy.
-
Vignetting: This refers to a reduction of an image's brightness or saturation toward the periphery compared to the image center.